
A popular trend these days in the world of interior decorating is the use of speciality lighting as part of a design scheme, and nowhere has this been better exemplified than in the rise of the oil rain lamp.
These beautiful lamps are a must-have item for any modern home; they look great and produce an amazingly soothing ambience that will help you relax after a long day at work or school.
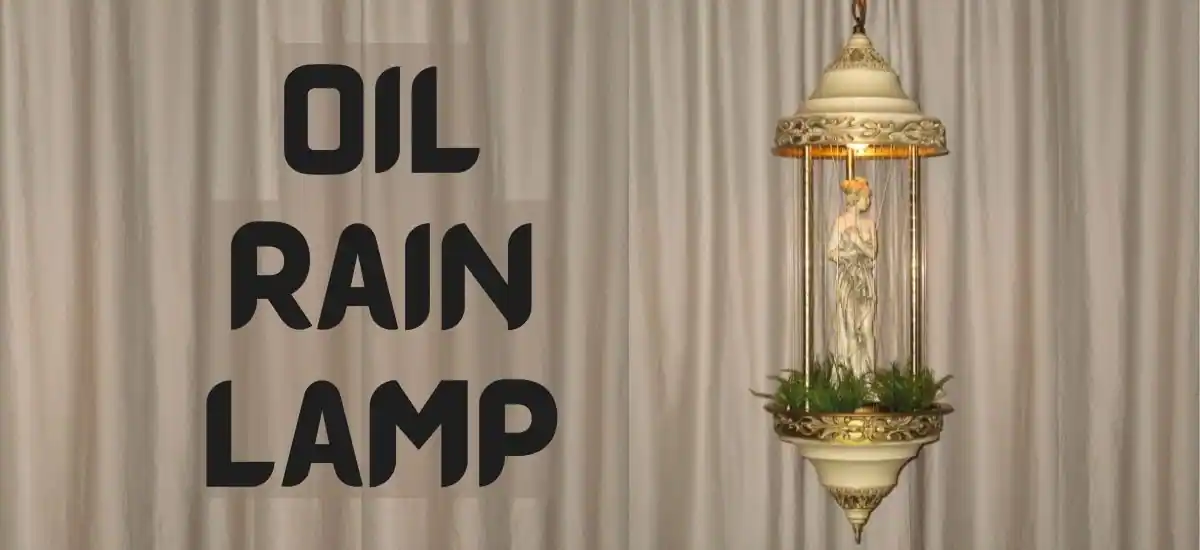
What is an oil rain lamp?

The design of oil rain lamps creates the illusion of raindrops falling inside the lamp while it is in use.
Oil rain lights differ from regular oil lamps in construction and performance.
Instead of relying on a wick, these lamps require no oxygen to create light, so they will not burn out when used for long periods.
They also have a larger chamber that holds more oil than a typical lamp, making them cheaper to operate because they don’t need to be filled as often.
The LED bulbs that create the desired effect can be programmed to turn on gradually over time or at specific intervals like sunset and sunrise, or they can remain lit all day long if desired.
How To Make A Rain Lamp

To make a rain lamp, you need two mason jars and some water.
Next, fill one jar with water and set it aside. Then take the other jar and add a few drops of food colouring, vinegar, or coffee grounds to create the rain effect.
Once you’ve finished this step, turn the jar over onto the lid of the first jar filled with water so it stands on its head to seal itself off from the air.
Now place your hand under the open end of the sealed jar so that water will flow out onto your hand when you tilt it back up.
As soon as this happens, quickly remove your hand so that the remaining liquid inside drips down into the bottom jar to create what looks like rain coming down!
The best part about this project is how easy it is and how affordable (mason jars are relatively cheap).
Step 1: Set up your work area
To make your oil rain lamp, you will need to be in a place with a lot of natural light and relatively free from direct sunlight. To make the lamp:
- Use your white glue and start by putting some glue on the inside of your cup and then filling it with oil until it covers the entire inside.
- If necessary, hold up the cup to see when it is complete.
- Do the same thing with your glasses but fill them halfway instead of full because this will serve as where you add water later.
Step 2: Place the light bulb.
To power the lamp, you need to place a light bulb inside. Once inserted, ensure it is securely in place, so it doesn’t fall out and make contact with the oil mixture.
The light bulb size should be 40 or 60 watts; this will depend on how bright your lamp is. If the bulb produces too much heat, it can burn out and potentially cause a fire hazard.
Step 3: Setting the decorative carving.
Give the decorative carving a protective coating, such as with cooking spray. Place the relief on a piece of aluminium foil in a convection or low-temperature oven set to 200 degrees Fahrenheit.
Let the relief dry for at least 20 minutes before removing it from the oven. Remove the relief from aluminium foil and rub some paper towels along the surface of your relief to remove any excess moisture created by drying in an oven.
Step 4: Set up the pumping unit.
Create a hole in the top of the tall jar lid. Keep in mind that you will need to be able to fit the bottom of the pump and hose through this hole.
Attach one end of the hose to your bucket, leaving plenty of slack on the other end, so you can easily turn on and off the flow.
The pump should be fully submerged under water at all times during use. Put the lid on the container and place it over your lamp base, ensuring it is level with the base.
The best way to do this is by placing a straight object across both containers and then gently pushing down until they sit flush against each other. Now you are ready for some light!
Step 5: Assembling the lamp.
Once you have all the pieces, it’s time to assemble your lamp. Just make sure you’re following the instructions and not trying to reinvent the wheel by putting this together any other way.
If you’re feeling especially handy, there are a ton of videos on YouTube that will walk you through it step-by-step. You can also use Google or Amazon search results for some tutorials.
But if you want a professional opinion, I recommend you ask the hardware store where you bought the parts for help with assembly.
They should be able to give tips specific to what kind of oil rain lamp kit you bought and how it was made as well as answer any questions about assembly or installation.
Assembling an oil rain lamp might seem intimidating, but it’s easy once you get into it!
How To Clean And Repair A Rain Lamp

Oil rain lamps are fun and easy to clean. To clean a lamp:
- Remove any excess water that may have spilt on the lamp’s base.
- Slowly pull off the chimney cap of the lamp, making sure not to disturb the oil too much.
- Invert the lamp over a clean paper towel so that all excess water can drip out of it.
- Place a dry paper towel at the bottom of your inverted lamp so no more water can spill out while cleaning it.
- Remove the chimney cap again, careful not to tip or shake the lamp.
- With one hand holding the base steady, use your other hand to wipe away any dirt with a damp cloth.
- Hold onto the lamp as you place the chime cap back on top to keep everything in place as you replace it in its original position.
- When you’ve replaced the chimney cap, turn the lamp upright and ensure there is no residual water before using it again.
If there is still some residual water on the inside of your lamp after wiping it down, leave your light turned off for about 10 minutes before turning it back on.
Frequently Asked Question
Q1. What kind of oil goes in a rain lamp?
Make sure only to use mineral or paraffin oil when you fill the lamp with oil since other types can cause the pump to malfunction or quickly get rancid.
Keep in mind that only certain oils work well with a rain lamp. Mineral oil and paraffin are your best bets, as they won’t harm the lamp’s working parts.
If you have another type of oil, make sure it’s not something like vegetable oil because that will eventually ruin your lamp by clogging up the wick and making it, so the liquid doesn’t come out smoothly.
Q2. How does an oil rain lamp work?
An oil rain lamp uses a series of small bulbs that simulate the look of oil spilling down a lamp and onto the desk below.
It’s a unique decoration, adding visual interest to your space and giving it warmth and cosiness. The bulbs may be LEDs or incandescent, so they’re great for any climate.
Most lamps use one or two light tubes, but some are more elaborate, with up to three tiers. There is usually a dimmer switch on the cord to control how much light you want from the fixture.
Q3. How much mineral oil does a rain lamp use?
Each lamp will use anywhere from 5 to 20 ml of mineral oil every few months. Depending on the size of the lamp, you may only need to refill it every three to six months.
While they are not marketed as a low-cost alternative, we can say that they can save you money in the long run because they do not require electricity or running water.
The lamps also come with simple instructions for care and use, making them easy to maintain.
If your preference is for a more modern aesthetic, rain lamps might not be for you – but if you want something unique and blend nature with technology, this is the way to go!
Q4. When did rain lamps come out?
There has been much debate over the history of rain lamps, but we know that they were first conceptualised in 1970 by Australian artist Bruce James.
The original lamps were made with water and Vaseline. This paved the way for other types of lamps like oil lamps, a mixture of water and essential oils that emit vapours as they heat up.
Today, rain lamps come in various colours and shapes to suit your every mood or occasion.
Q5. How can you tell if an oil lamp is antique?
When looking at a lamp, there are many factors to look for. One way you can tell if the lamp is antique is by looking at the size of the opening on top of the metal frame.
Most antique lamps had very small openings, while newer lamps had larger ones. Another way to determine whether or not a lamp is antique is by examining the material that it’s made out of.
Antique lamps are usually made of iron and will show signs of rust and wear from being used over time. In contrast, new oil rain lamps will be made of either glass or metal and shinier with little to no signs of wear or rust.
Q6. What is the difference between an oil lamp and a kerosene lamp?
Oil lamps and kerosene lamps produce heat from burning a fuel, which in turn provides light.
Both kerosene and oil lamps emit toxic substances into the air, with about two-thirds of emissions coming from oils and liquefied petroleum gases (LPG).
Kerosene emissions are worse for the environment than oil lamp emissions because kerosene emits sulphur oxides that lead to acid rain.